


Recently I had to deploy a local Sitecore instance to Azure. I had to put a lot of pieces together to get it working the way I wanted to, and I decided to share it with the world.
This blog post will focus on deploying an XP3 Sitecore instance to an Azure web app with Unicorn. If you are not familiar with Sitecore XP instances, you can learn more about them here.
It is assumed that you already have a working Sitecore instance in an Azure environment. If you don’t, you can follow my guide on How to Provision a Sitecore XP Instance in Azure.
Updating an Existing Sitecore Azure Deployment
When developing for a Sitecore solution, sometimes you just want to update your code and serialized items without messing with the content of the target instance. This blog series will go through how to update a Sitecore instance with your local code changes and serialized items without modifying the master or core database.
Deployment Overview
If you are in a hurry or need a quick reference, here are the steps at a high level:
Environment setup
Create your payloads
Create web deploy package
Deploy to Azure with MSDeploy
Environment Setup: Sitecore Azure Tools
The first step is to set up your local environment. This will be useful later because we will use a lot of different files that serve different purposes, so it is important to keep things organized.
1. Download the Sitecore Azure Toolkit (SCATK).
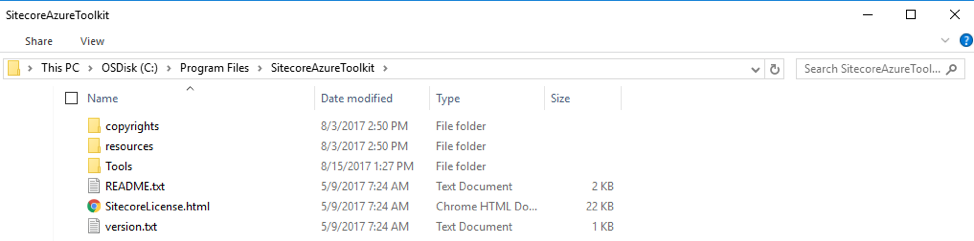
2. Extract the package to a folder. In my environment, I extracted it to:
c:\Program Files\SitecoreAzureToolkit

3. Next you will need to import the modules you just download into your PowerShell environment. Open PowerShell with admin privileges, and type in the following command:
notepad $profile
4. In the Notepad document that opens, type in the following commands:
cd "C:\Program Files\SitecoreAzureToolkit" Import-Module .\Tools\Sitecore.Cloud.Cmdlets.psm1 -Verbose import-module -Name ".\Tools\Sitecore.Cloud.Cmdlets.dll" cd "C:\"
Save and close Notepad. Then close and reopen PowerShell. You should be able to see that the modules were loaded:

Environment Setup: Local Working Directory
Now that the tool is in place, we need to create a new working environment. When we are updating a Sitecore instance, we must update each one of the different roles with it (i.e., content delivery cd, content management cm, reporting rep, processing prc) or risk having them out of sync. For each role we will apply different configurations and transformations, and that is what we will set up in this section.
1. Create a working directory somewhere on your drive. This will be your “home” working directory. In my case, I created a directory called “Deployment” under C: (C:/Deployment).
2. Create the resources directory. This directory is part of the Sitecore Azure Toolkit (SCATK) that we downloaded. It holds configuration files that tell the packaging program which transformations to apply to which role.
Navigate to where you unpacked the SCATK (c:\Program Files\SitecoreAzureToolkit) and locate the folder called Resources.
Copy the Resources folder and paste it inside the home Deployment directory (C:\Deployment\Resources).
3. Create the following folders:
Create a new directory called “AzurePublishSettings” (C:\Deployment\AzurePublishSettings).
Create a new directory called “PackagedWDP” (C:\Deployment\PackagedWDP).
Create a new directory called “TargetPayloads” (C:\Deployment\TargetPayloads).
4. Verify your structure. Once all directories have been created, make sure your directory looks like mine:

Make sure your environment is set up correctly by:
Checking that Powershell loads up the SCATK modules
Verifying your paths and folders exist in the correct location
Checking our set up before continuing will minimize errors in the later steps of the process.
Once you are ready to continue, we will learn about creating payload files in the next part of this series.
For questions regarding Sitecore or other development topics, reach out to us at marketing@credera.com.
Contact Us
Let's talk!
We're ready to help turn your biggest challenges into your biggest advantages.
Searching for a new career?
View job openings