Blog
Aug 13, 2014
Modern Web Development Best Practices Powered by Grunt.js Part 5: Source Maps


In the previous parts of this series, we learned how to set up a basic project and finished with a very extensible project configuration we could add on to. In these continuing parts, we will discuss some more advanced concepts and revise a few of the workflows to make things better, easier, or just to show the alternatives you should consider when developing your project. So let’s dive right in.
SOURCE MAPS
Here we’ll revise the JS concatenation and minification step. The process of minification does essentially the same as the concatenation step since it puts all the code into one file. The downside is the content of that one file is not easily readable. Fortunately, there is a way to solve this problem: the developer tools in the newest versions of Chrome and Firefox (as of September 2013) support a feature called Source Maps. Source Maps will essentially allow you to send a minified file to the browser but retain most of the debugging capabilities as if the file wasn’t minified. The key part to this process is generating the source map file that will “map” the minified code back to the original source file. Fortunately for us, UglifyJS offers support for this feature, and it only requires a few changes from our configuration to enable it.
TUTORIAL:
“git checkout sourcemaps”
A few small changes to the “Gruntfile.js” file is all that’s required:
 uglify: {
 dist: {
 options: {
 sourceMap: 'js/source.map',
 sourceMappingURL: '/js/source.map',
 sourceMapRoot: '/'
 },
 files: [
 {
 src: jsSourceFiles,
 dest: 'js/app.js'
 }
 ]
 }
 },
We simplified the “uglify” configuration to have a single subtask (“dist”) and configured the options to output the source map to “/js/source.map,” We also added the “uglify:dist” task to the “default” task and the “watch:scripts” task, so now when we run either of those our “js/app.js” file is generated and will look something like this:
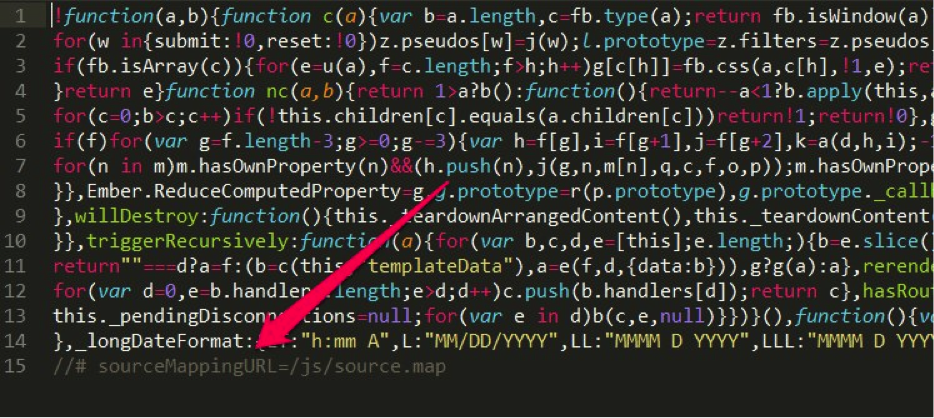

Notice how the generated output has a “sourceMappingURL” that points to our source map file. In order to see it in action, you’ll need to open your browser’s developer tool and make sure the feature is enabled. In Chrome it would look like this:

Then:

And now, when you open the Source tab, you will see all the source files available:
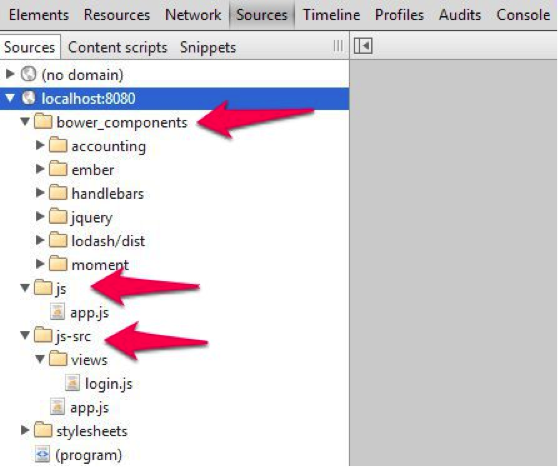
From here you can see the minified file as well as the full source code with all the comments and nice formatting. You can even set breakpoints and debug like you normally would. The concatenation step is not necessary with this approach, as it allows us to work just as if we were including each individual file in the HTML (but in reality only having one <script> tag). It has the added bonus of allowing us to use the same code in development and production, while maintaining debugging capabilities.
In the rest of the series, we’ll go over some other advanced concepts like RequireJS and alternatives, static asset versioning, image optimization, and a few other tricks. We’ll also see how to use more Grunt.js features and plugins to implement them. In the meantime, follow @CrederaMSFT on Twitter and Credera on LinkedIn for more great best practices.
To view the rest of the Modern Web Development Best Practices Powered by Grunt.js series click here.
Contact Us
Let's talk!
We're ready to help turn your biggest challenges into your biggest advantages.
Searching for a new career?
View job openings